
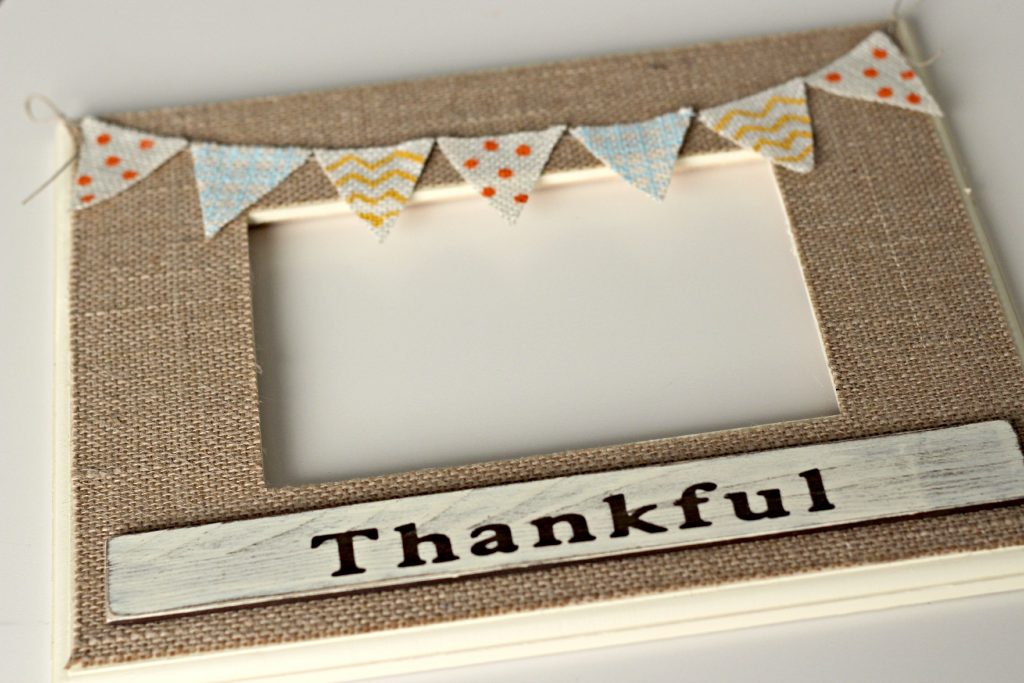
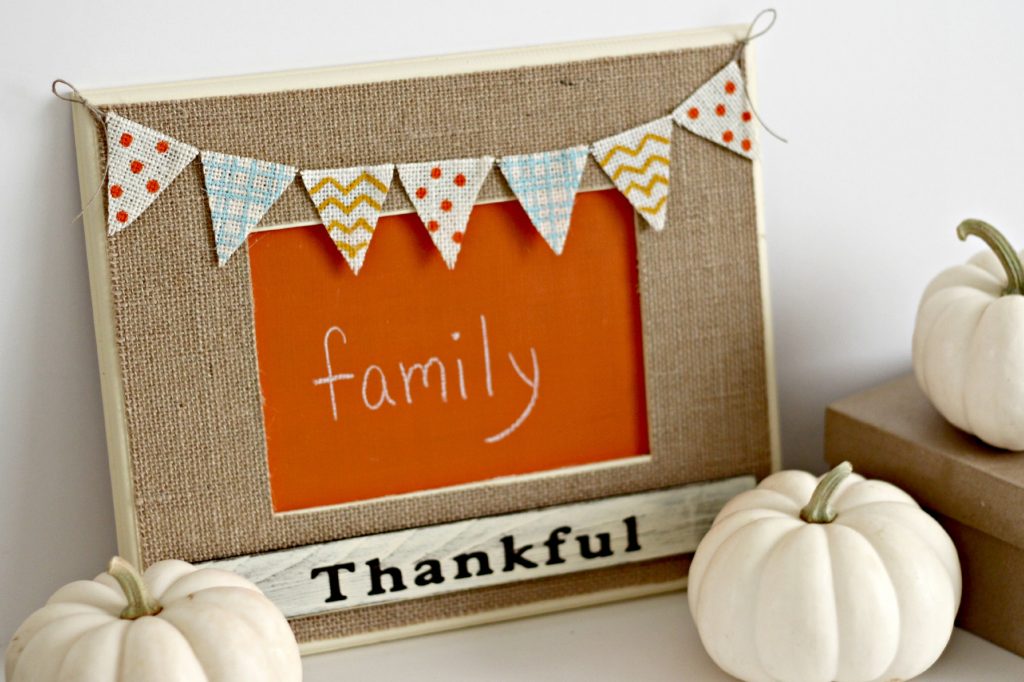
This Chalkboard and Burlap Thankful Frame is not only fun to make but it’s also a great place to share what you’re thankful for throughout the month of November. The painted banner is my favorite part.
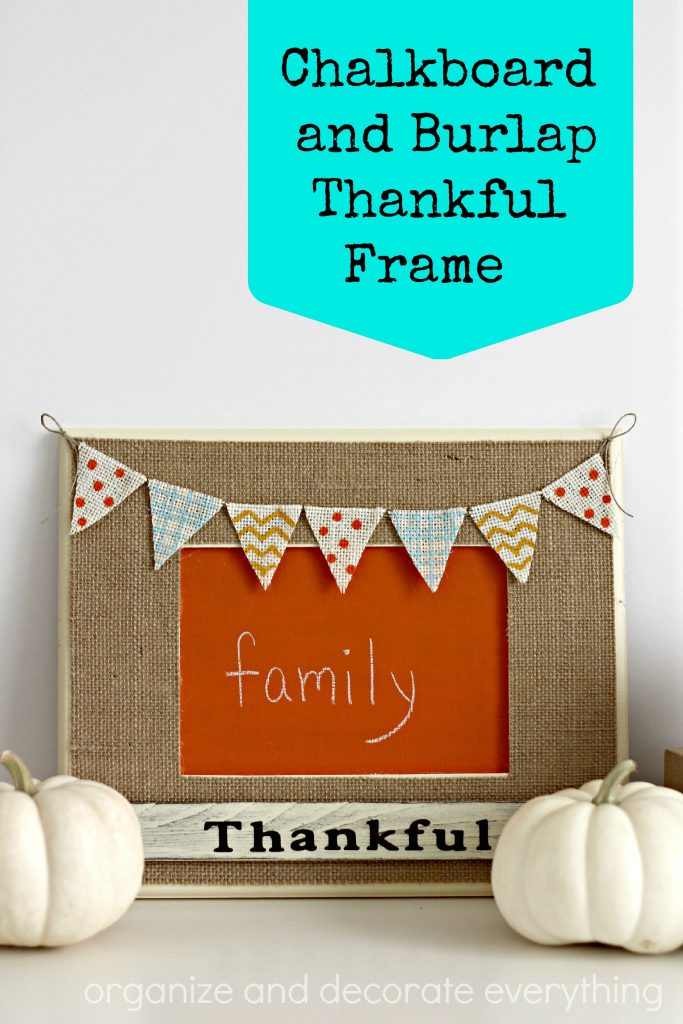
I like the idea of having a place where we can share what we’re thankful for. I can’t wait to see what the kids write on it. I’m really happy with how cute it turned out. Now I’ll show you how to make your own.
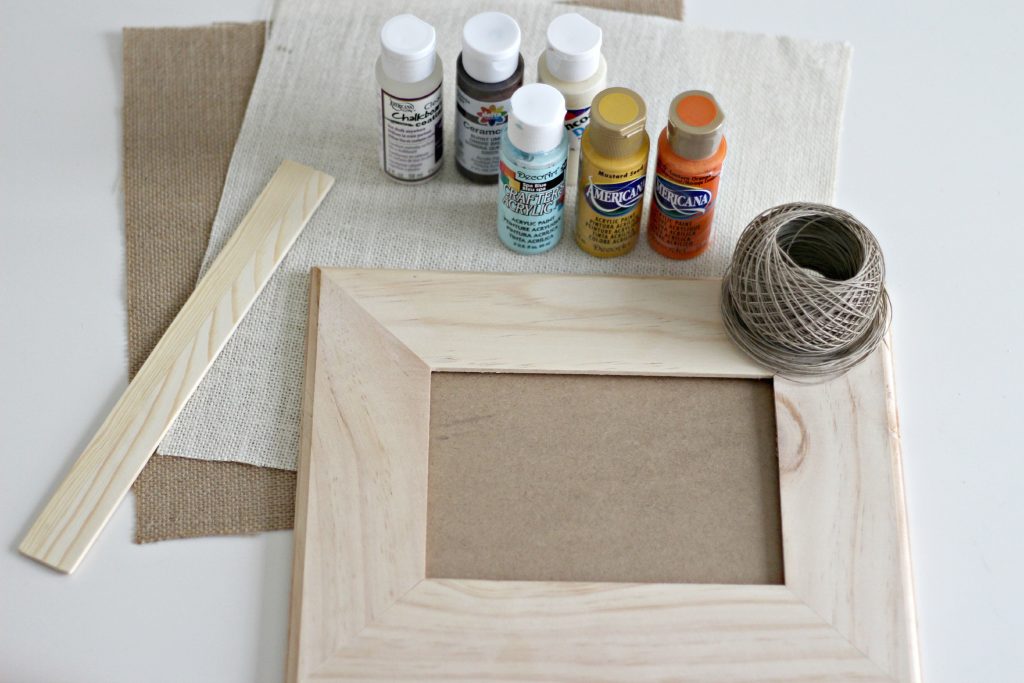
Here’s what you need:
Unfinished Wood Frame
Burlap (2 different colors)
Paint stick
Paint (my colors: Americana Mustard Seed, Americana Jack-o-lantern Orange, DecoArt Spa Blue, Ceramcoat Antique White, Ceramcoat Burnt Umber)
Clear Chalkboard coating (Americana)
Twine or jute
Glue dots
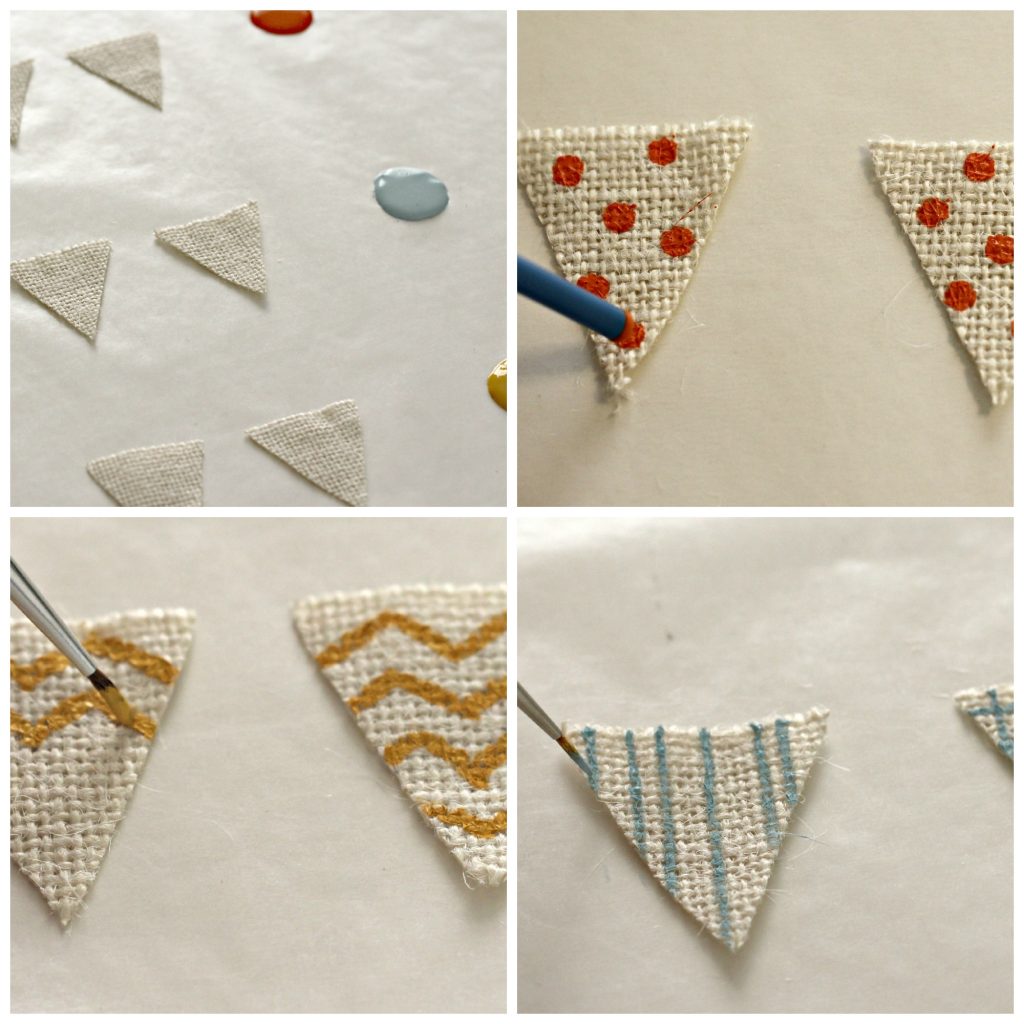
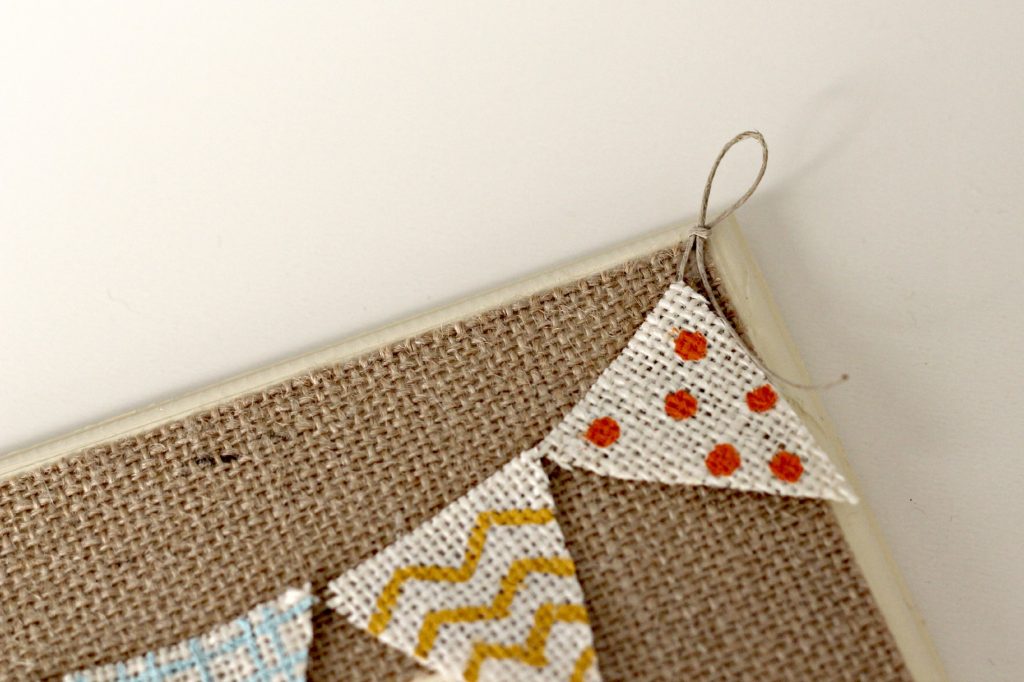
Cut the white burlap into little triangles, mine measure 2″h x 1 1/2″w. You can paint whatever designs you like on the flags, but I’ll share with you how I made mine. The orange polka dots were made by using the end of a paint brush, dipping it in the paint, and randomly dotting it on the burlap flag. I painted the yellow chevron flags free hand. They aren’t perfect but they turned out pretty good. The blue plaid was pretty easy to do using the burlap as a guide. Use a really thin brush and follow the burlap threads as you paint. Paint the vertical strips then the horizontal stripes, leave uneven spacing between the stripes.
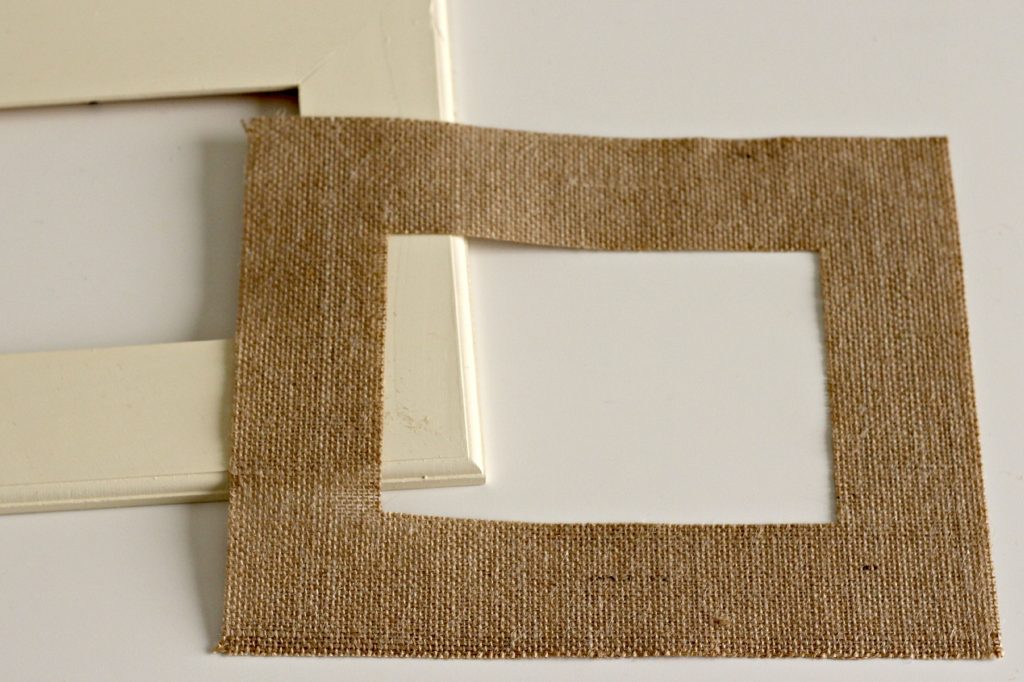
Paint the unfinished frame antique white, let dry, then cut out the darker burlap using the frame as I guide. I placed the piece of burlap over the frame and just used scissors to cut it out to the exact size as the flat piece of the frame. Use mod podge to attach the burlap to the frame by painting it on the wood and positioning the burlap on top. The mod podge dries clear.
Make the banner by draping the jute across the top of the frame. I tied a little bow at the ends of the jute. Attach the little flags to the jute using glue dots or a little dot of hot glue.
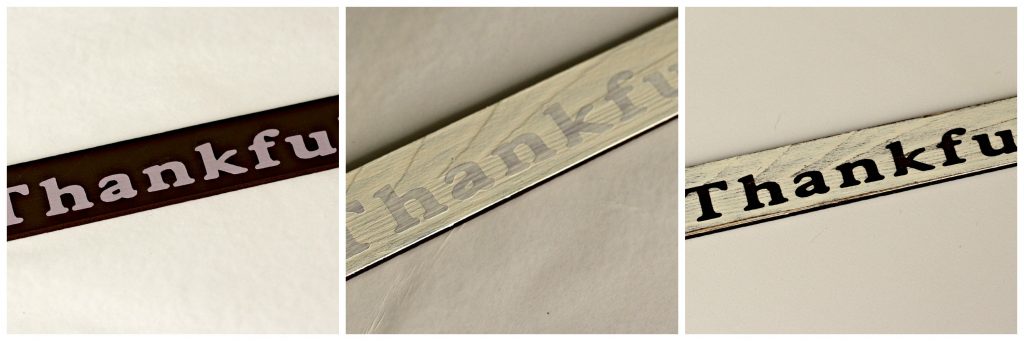
To make the thankful plaque, cut the paint stick to fit across the bottom of the frame. Paint the stick brown then spell out thankful using stickers or vinyl. Paint one coat of antique white over the whole piece, let dry, then peel off the stickers. Sand the whole piece to give it a weathered look.
Attach the thankful plaque to the frame using hot glue.
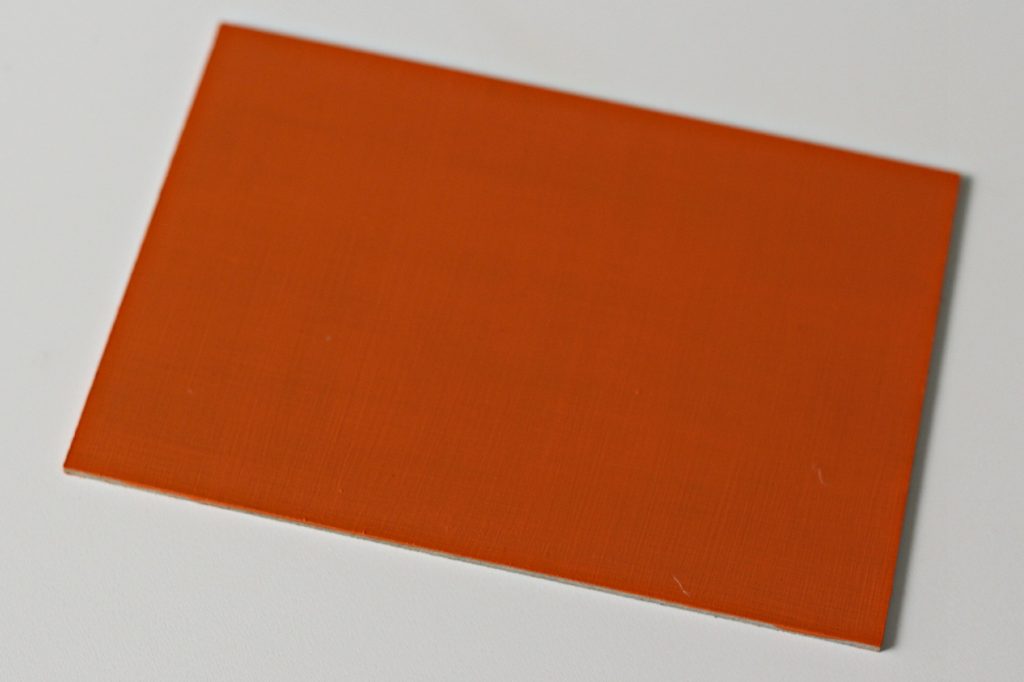
Now it’s time to make the chalkboard. You can chose whatever color you like but I’m using Jack-o-lantern orange. Paint a couple coats of the color on the back of the frame piece (it’s the piece that would usually hold the picture in place). Once it’s dry, paint over it with the clear chalkboard coating. Paint in one direction and then the other letting it dry 1 hour between coats (follow the directions on the bottle). I love this chalkboard coating because it turns anything into a chalkboard. Season the board by rubbing chalk all over it then wiping clean with a damp cloth. Now you’re ready to write on it.
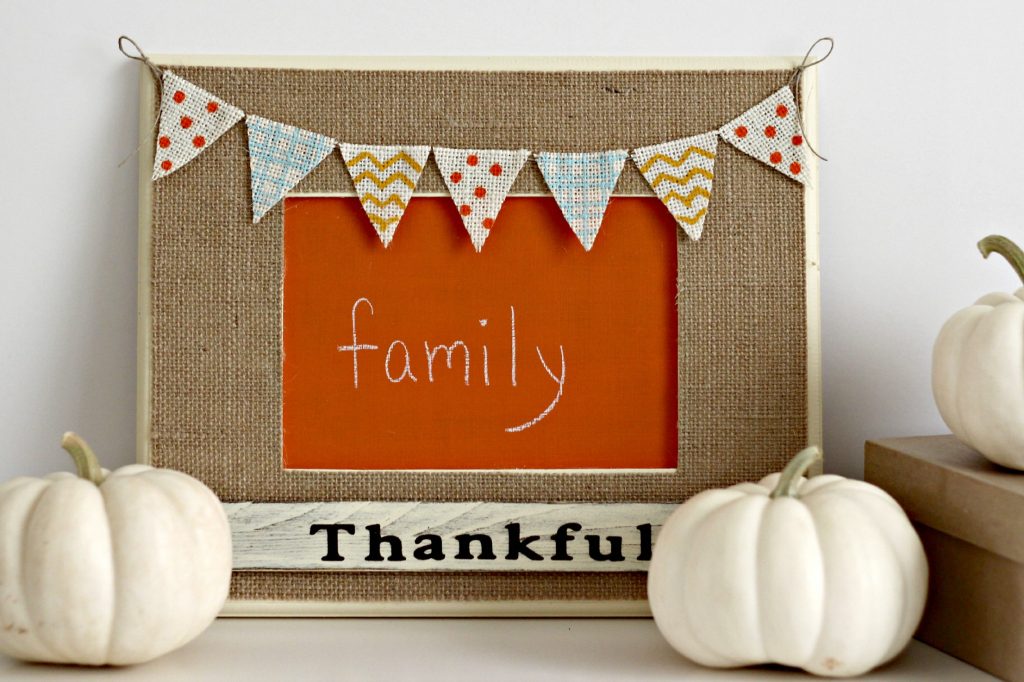
Insert the back into the frame and it’s ready to be written on. I asked everyone what I should write on it first and they all said family. We’ll take turns writing on it and might even change it a couple times a day. I hope this will be another little reminder to my family of how blessed we are and how much we have to be thankful for.
How do you share what you’re thankful for as a family?
Pin it for later:

You might also like:
Thanksgiving Banner Ideas
Gratitude Activities for Kids


I just love this project! I’ve been keeping my eyes open for a cute craft to do with my 5th graders, and this might be it! Thanks for the detailed instructions. Really sweet & what the holiday is all about!
This is such a cute idea. I love it! This may be just the thing to make as a craft with my daughter’s friends this weekend at her birthday sleepover.