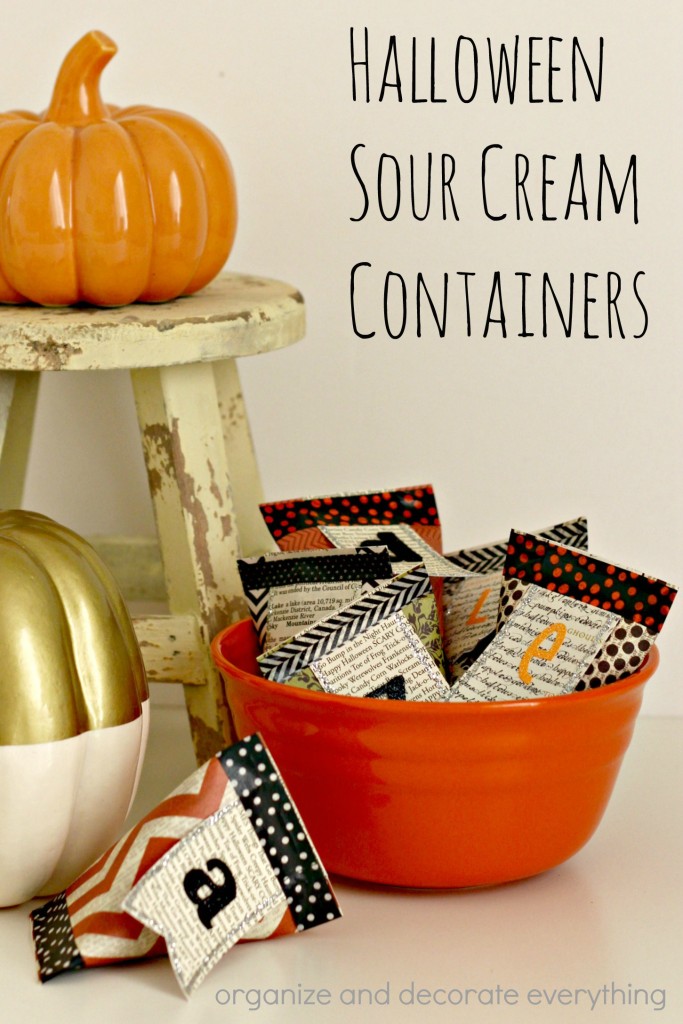
I’ve been thinking about making these Halloween Sour Cream Containers for years. I saw them at a boutique several years ago and they’ve been on my mind ever since. Halloween is the next big holiday so I decided to go with a Halloween theme. But they would be easy to customize for any holiday or celebration by simply changing the paper and washi tape you use. You could also add tags or labels to them for more personalization.
So much about saving money is being mindful about how you spend it. Here are some great ways to save money. Try a few of these ideas, make them habits, then try adding a few more.
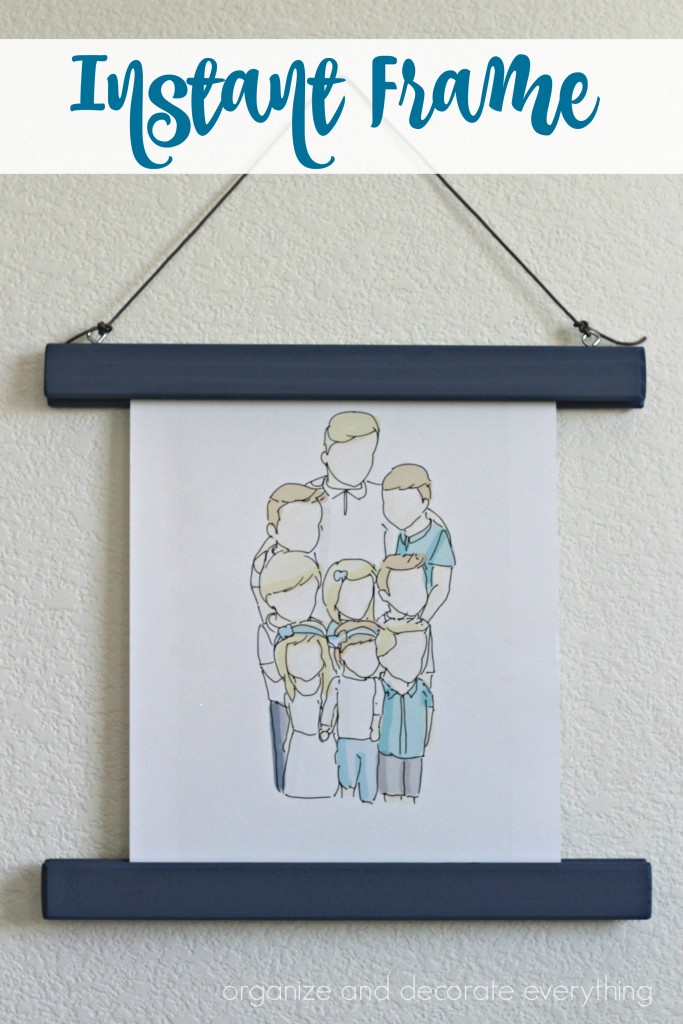
Make this awesome Instant frame to hold prints, photos, or calendars that can be switched out quickly and easily.
I have a blank area at the top of the stairs that I’m excited to finally decorate. I came up with a lot of different ideas but finally settled on a small cabinet with a gallery wall above it. More on that in another post. Regular frames are fine but I wanted to do something a little different for this space so this Instant Frame is a great alternative.
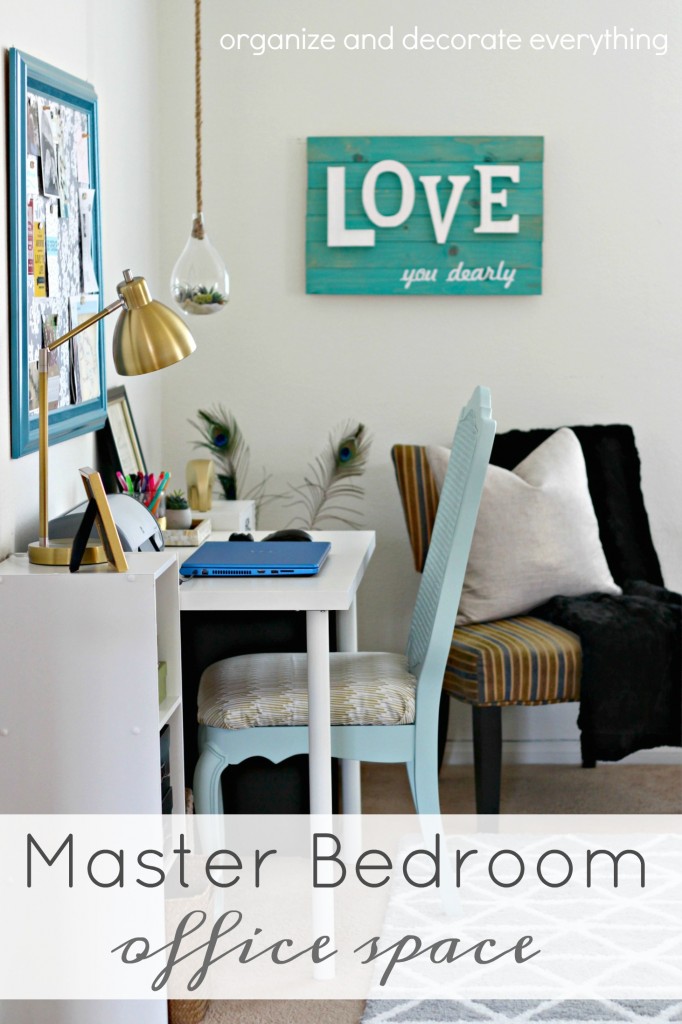
You know how an event can create a snowball effect and before you know it you’re rearranging and changing 3 rooms in your house at the same time? I can’t be the only person this happens to. The Master Bedroom Office Space is where my focus is right now.
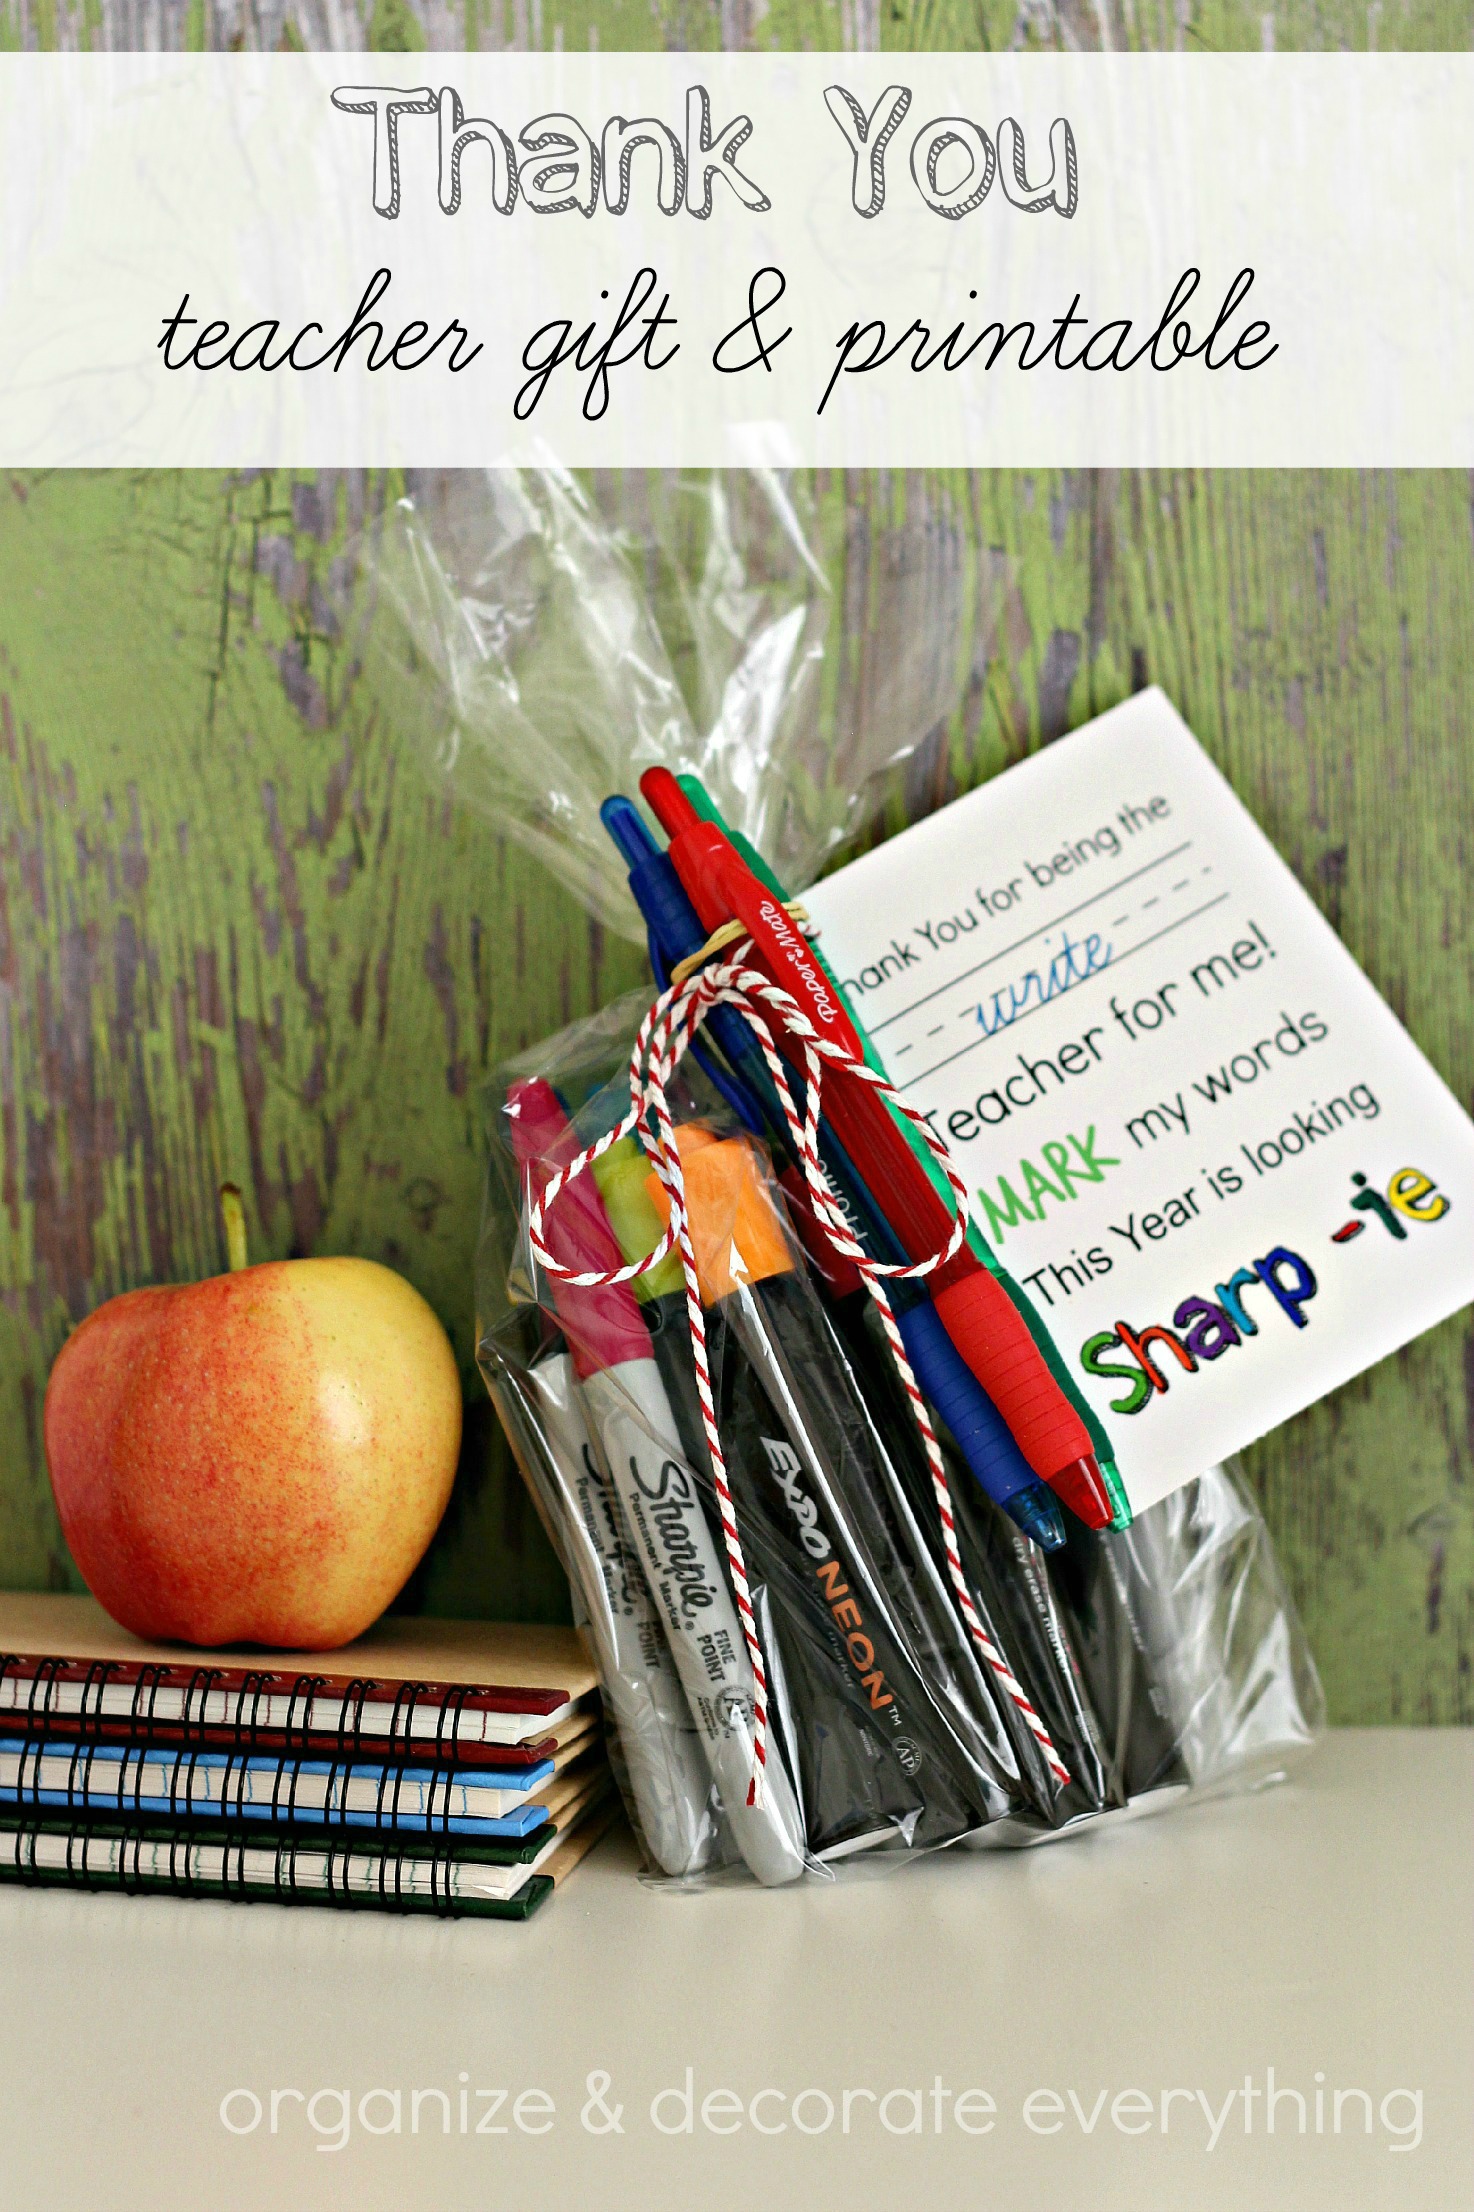
Doesn’t it seem like Summer gets shorter and shorter every year? School has already started in some areas and we start next week in our area. I know teachers are prepping the classroom for the first day of school in anticipation of making it a great year for their students so it’s fun to get the teachers a little something extra at the beginning of the year besides the things on their wish list. This teacher gift and printable tag is a fun and useful gift for the whole year.
I previously wrote a post in which I shared Dorm Room Shower Caddy and Bathroom Essentials. In this post I will be sharing Dorm Room Essentials for the kitchen, study area and sleeping area in the dorm. Like most of you we are working on an extremely tight budget so I would suggest using as many things from home as you can.
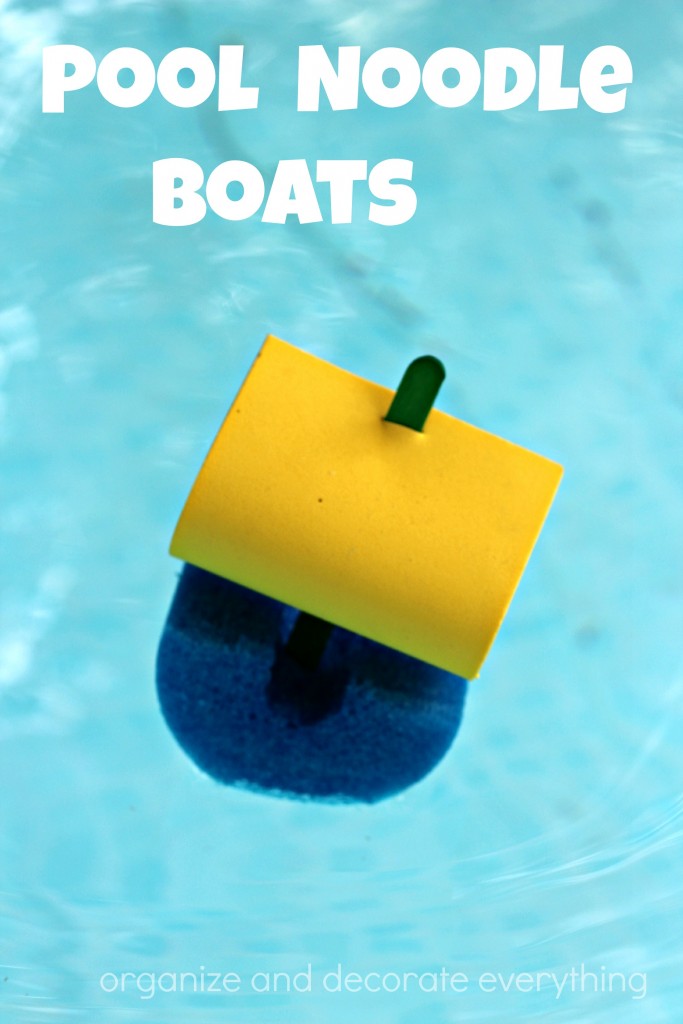
I shared these fun boats several years ago but I know some of you missed them and I didn’t want you to miss out on this fun family activity. It seems like almost any activity we think of during Summer involves water in some way or another. These Pool Noodle Boats are the perfect craft and activity for a hot Summer day. We had a ball making and racing the boats and I think you will too.