

My boys seem to miss out on the results of my crafting projects so it was about time I made something for them. I made these pillows to go on their beds. I used images of things they are interested in right now to make the Iron-on Image Envelope Pillows.
The first thing I had to do was make the pillow cases. I used a cloth drop cloth for the cases. I like using the edge of the drop cloths when possible because the edge is already finished and that means one less side for me to sew.
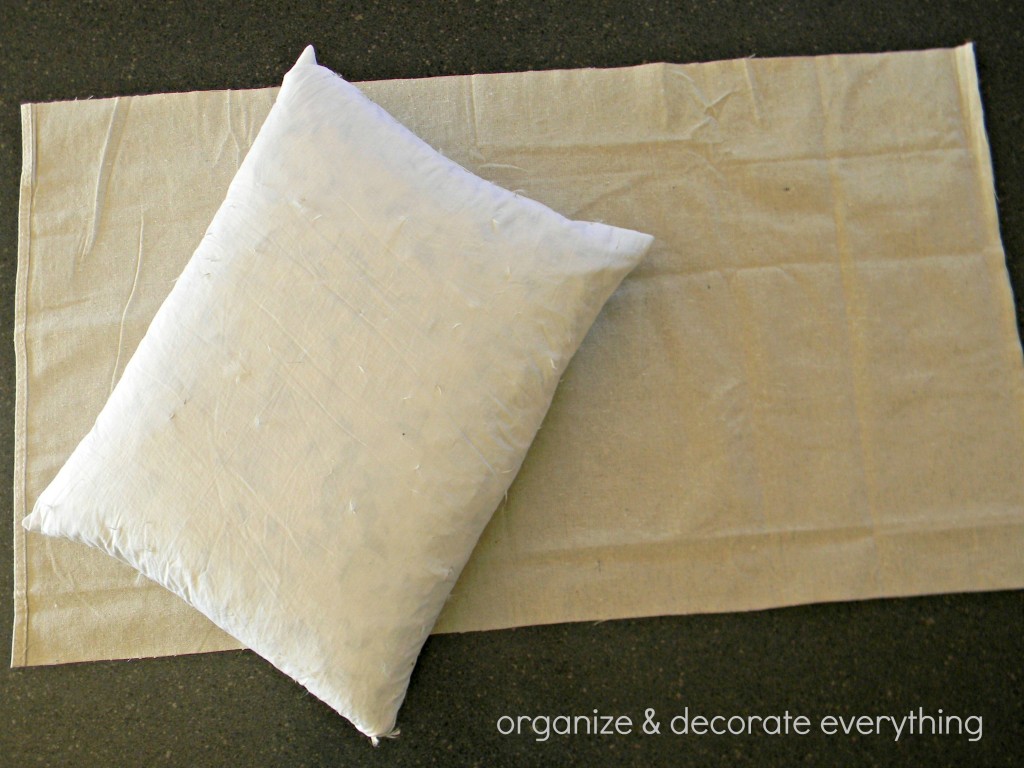
I’m using pillow forms I already had. The boys love it because I happened to have some really nice feather pillows. I wanted to cut and sew as little as possible so I’m showing you how to make an envelope pillow using just one piece of fabric. Cut a piece of fabric 1″ wider than the width of the pillow and cut the length 2 times the pillow size + 5″. So if your pillow is 18″ square, your fabric will be 19″ x 41″.
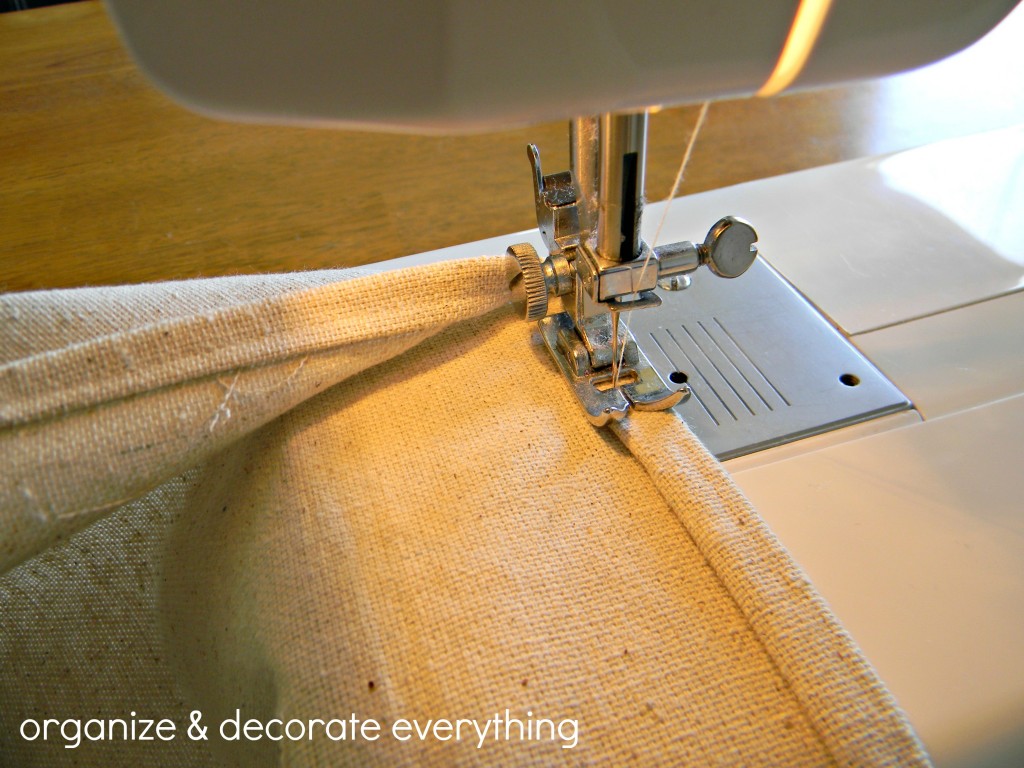
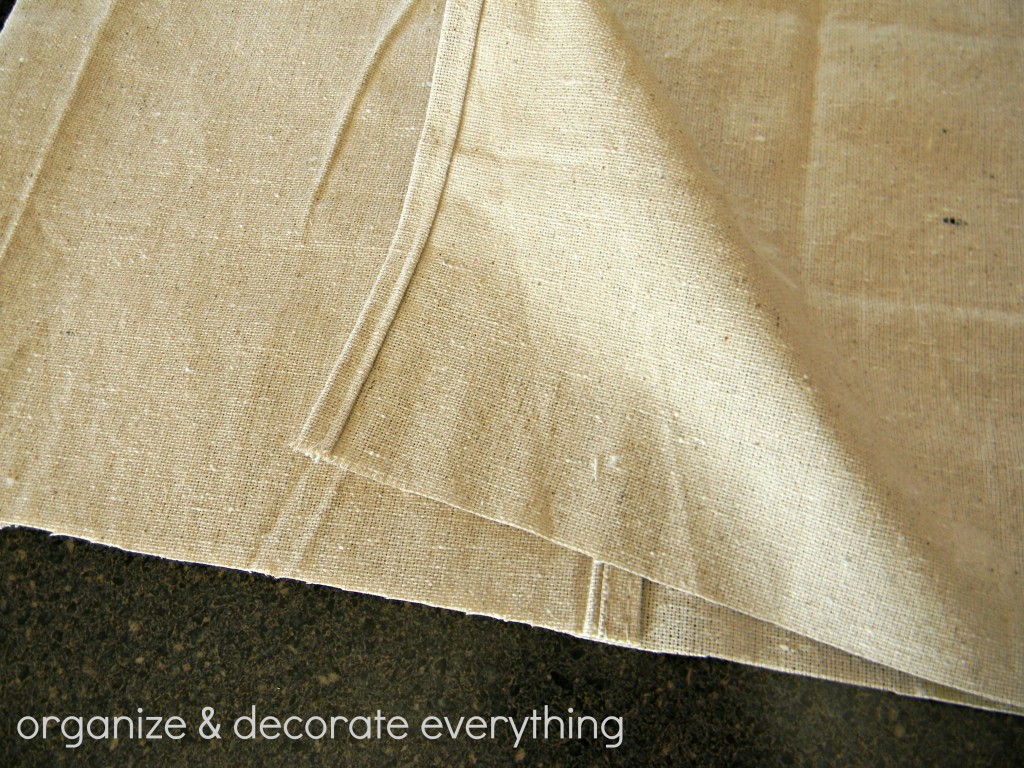
Fold over the other short end and stitch. Remember my fabric was already stitched on the other short end, if yours isn’t then stitch both short ends now.
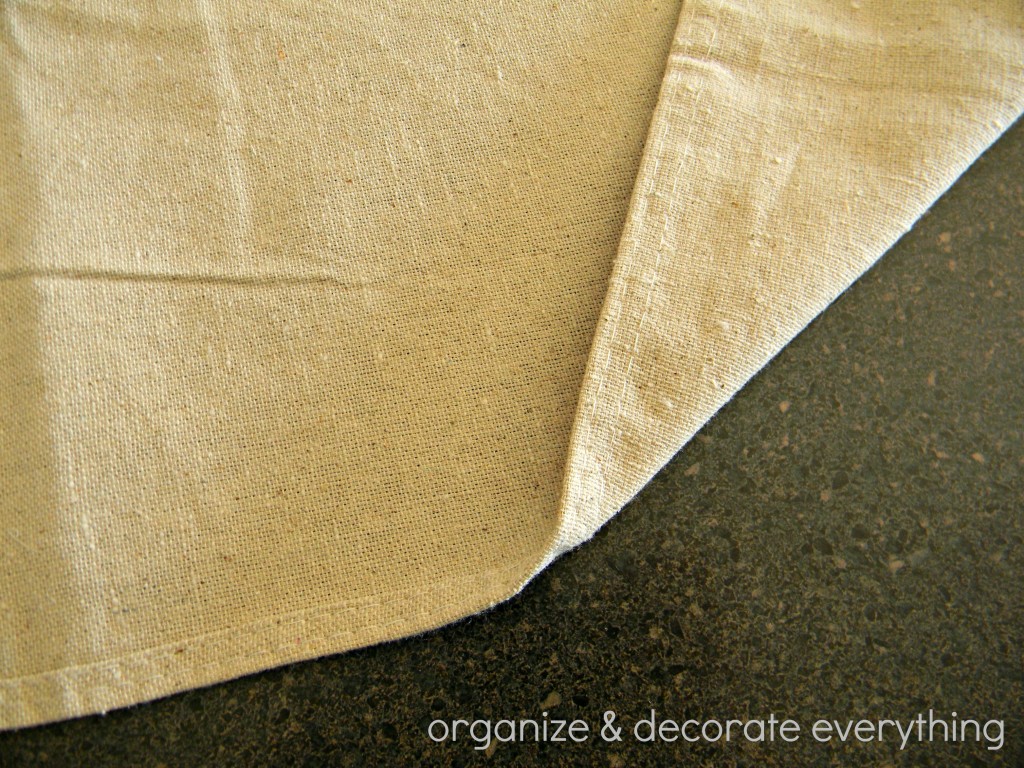
Fold the fabric right sides together, making the ends overlap 4″ in the center.
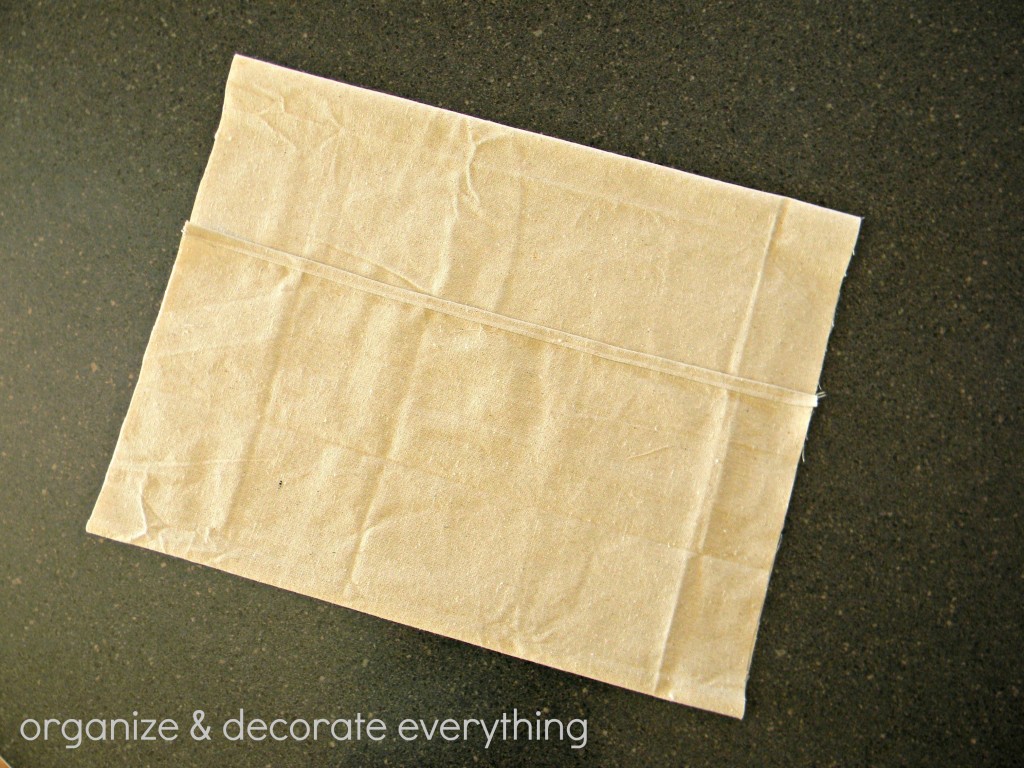
With the fabric folded like this stitch both sides. Turn the pillow case right side out and now we’re ready for the second part of this project. So simple!
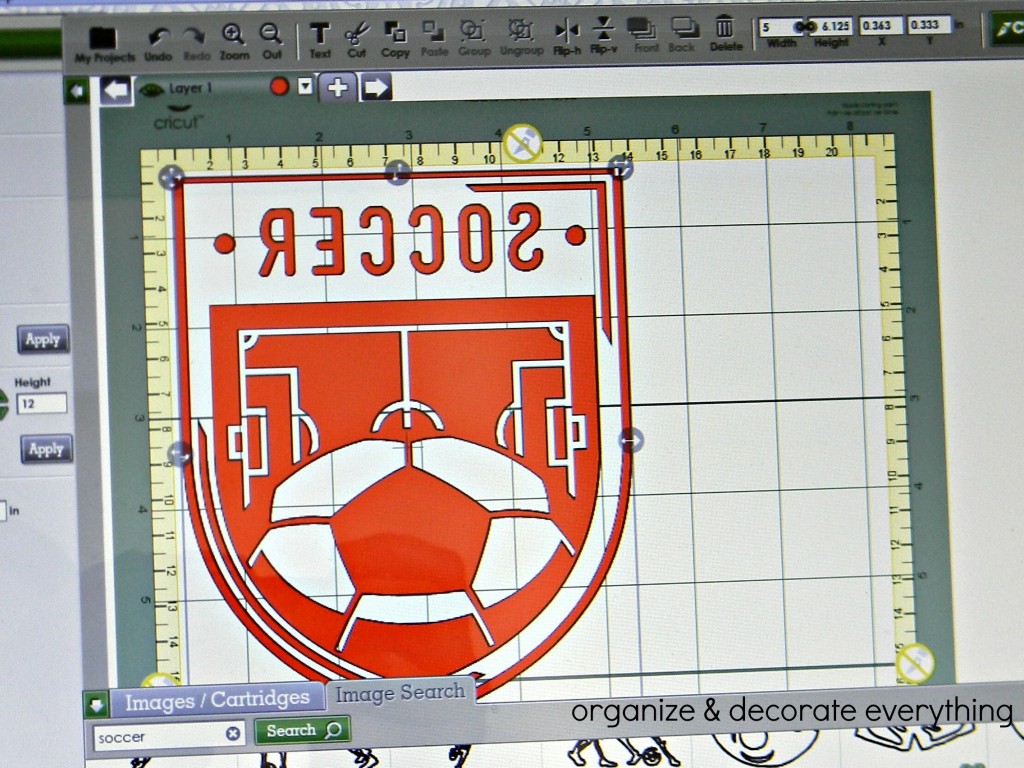
Okay, this is the fun part. I’m so happy I had the chance to try out Cricut’s new Iron-on product. I searched through Cricut Craft Room to find the images I wanted. This Soccer crest caught my eye right away for Zachary. It’s so easy to size, flip and cut multiple images using Cricut Craft Room, everything is right there on your computer screen. When using the iron-on product your images need to be flipped before cutting, this is especially important if you are using letters or numbers. Don’t forget to do that, learn from me. Oops! A flipped or mirror image should look like the one above. Also when placing the Iron-on sheet in your Cricut machine it needs to be shiny side down, matte side up. The matte is the actual iron-on product.
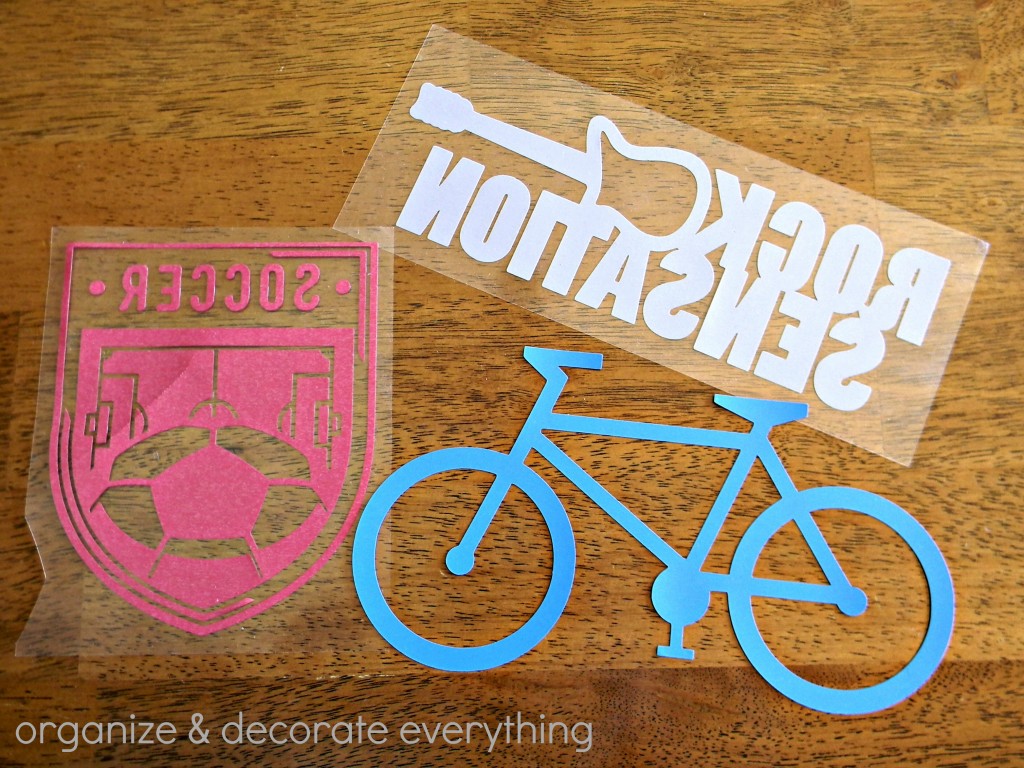
You can make the images bigger by flipping or turning them, that’s what I did to the bike and rock sensation images. When using the Iron-on product it’s best to use the kiss cut method where it cuts through the iron-on film but leaves the liner intact. I had to adjust mine even more than what it said in the instructions, but it worked either way. The soccer and rock sensation images were cut at a 2 blade depth and a 1 pressure, which worked perfectly.
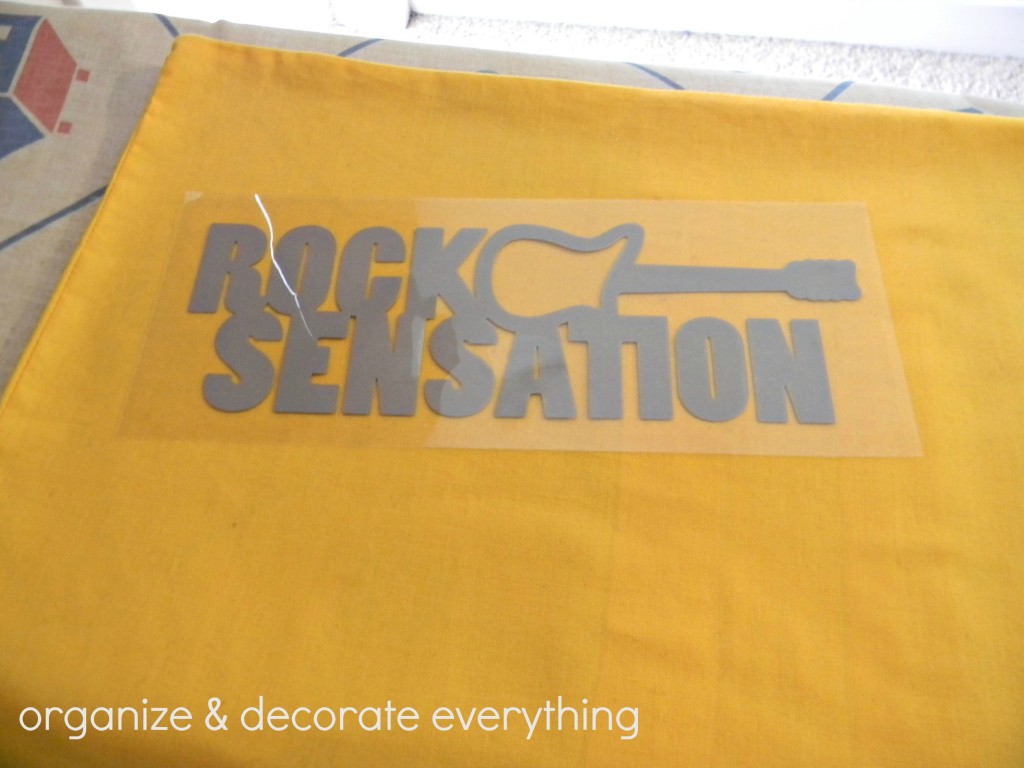
Take your iron-on image and place it on the fabric where you want it, shiny side up. Using a towel or piece of fabric on top of the vinyl, iron down by pressing and holding for 30 seconds until all parts of the cut-out are affixed. Then flip the pillow over and repeat for 30 seconds ironing on the back side. I had to use more pressure on the boy’s pillows because the fabric was a lot thicker. Let cool, then peel off film covering.

Stuff the pillow form inside the case and you’re finished. Okay, so I couldn’t leave Emilee out, I had to make one for her too.
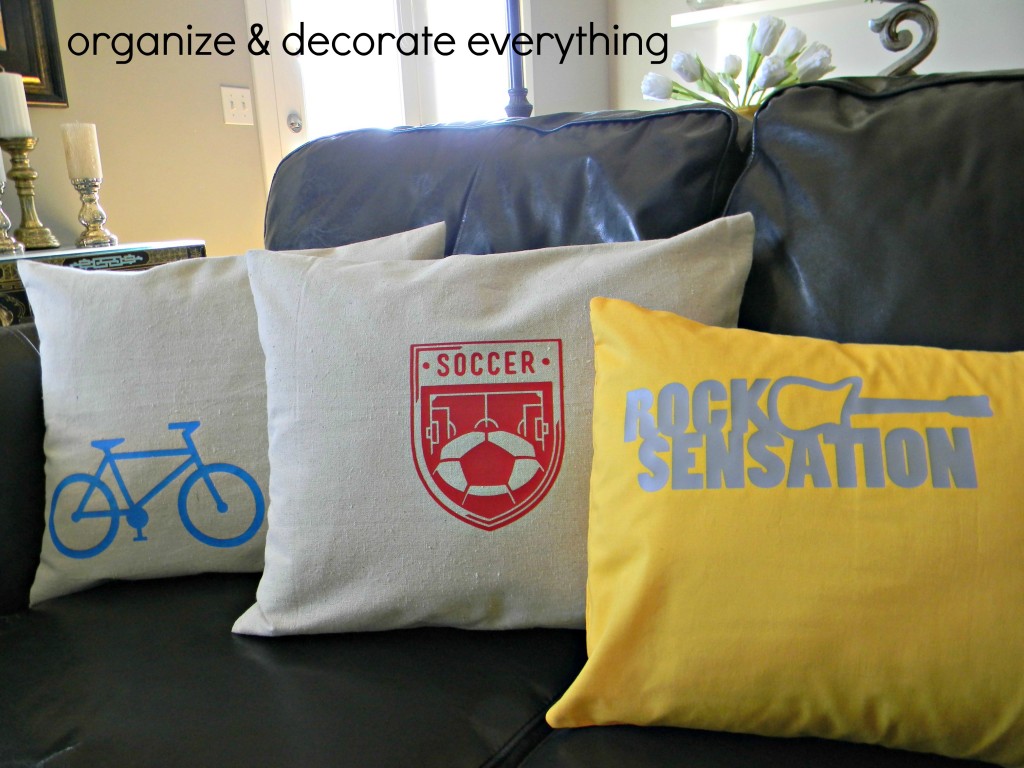
The kids love their new pillows and I like how they turned out too. I love the vibrant colors of the Iron-ons. I’m so happy I finally made something for the boys, now to work on the rest of their rooms. I can’t wait to work more with this product, maybe some fun summer pillows.


These pillows are so fun! I am making some for my kids as well – love your ideas!
I could totally see me messing this up by cutting out the letters the wrong way. Your project turned out great though!
I’m inspired to create some throw pillows for my sons bed. These simple graphics really make a statement.
OH my this looks amazing!!! I can’t wait to try the iron-on bundle!