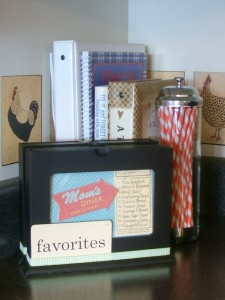
Do you remember when I organized my most used recipes last month? Do you see those cookbooks in the back? They didn’t match and it was bugging me, so I had to do something about it.
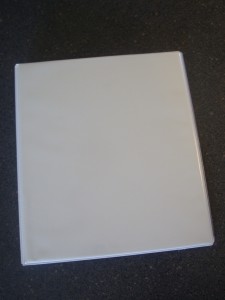
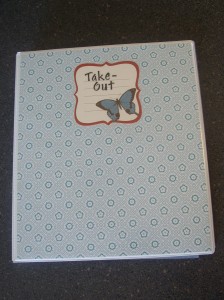
I started with the binder in the back. It’s actually for take-out menus, but we probably use it almost as much as the cookbooks.
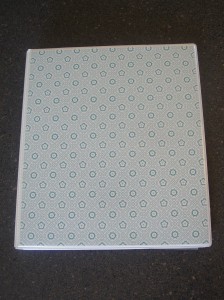
I just inserted some cute scrapbook paper behind the clear plastic cover.
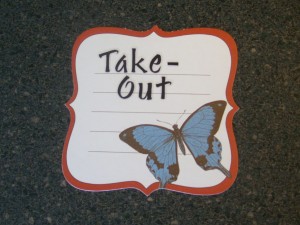
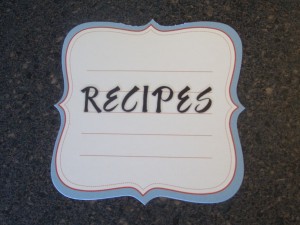
Made a cute label out of paper and stickers.
Then stuck it on the scrapbook paper and called it good.
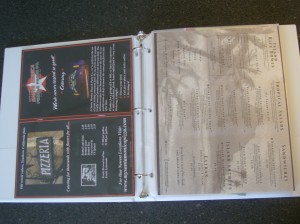
Here’s the inside. I just slid the menus into paper protectors and now they’re easily found when we have the urge for take-out or when nobody feels like cooking.
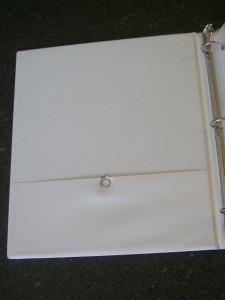
The paperclip is for take-out coupons, so we don’t forget to use them.
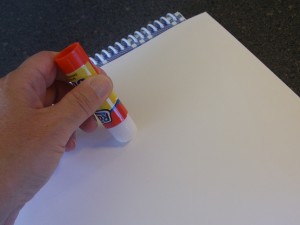
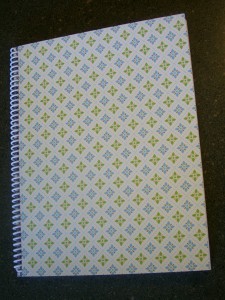
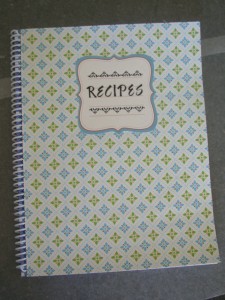
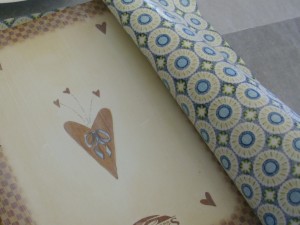
I covered the next cookbook with scrapbook paper too. First I adhered it to the original cover with a glue stick.
Front and back.
Then I made another cute label with paper and stickers.
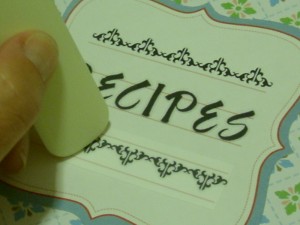
I embellished this one a little more with rub-ons.
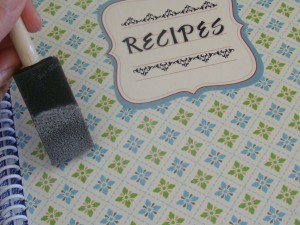
Then I just adhered it to the front of the book and mod podged the whole cover.
Now food spills should just wipe right off the cover.
For the next 2 covers I thought I’d try my hand at using fabric. First I cut the fabric about an inch bigger than the binder, all the way around.
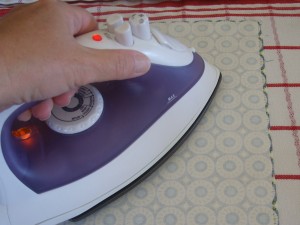
Then I used heat’n bond on the back of the fabric. Just iron it on for about 10 seconds. Let it cool.
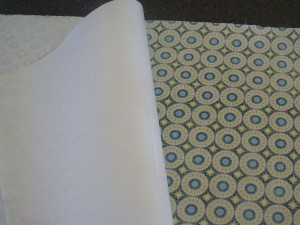
Then peel it off. It made the fabric a little stiff and easier to work with. It was easier to apply the mod podge too, without worrying about it seeping through the fabric.
I mod podged the outside front, back and side of the binder first.
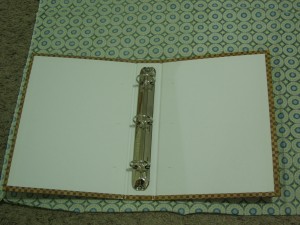
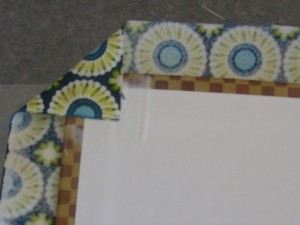
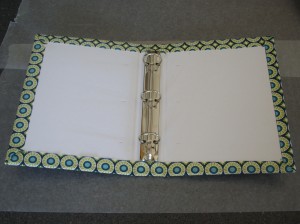
Then I started working on the inside. I didn’t worry about it being perfect, but I did want it to turn out smooth with nice corners. I started by folding in the corner and mod podging it in place.
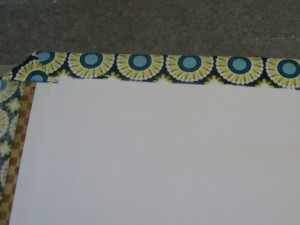
Then I glued the top, bottom and sides with mod podge.
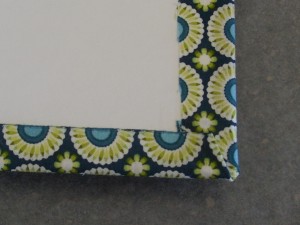
Making sure the corners layed pretty flat and looked nice.
Here’s the completed inside of the cookbook.
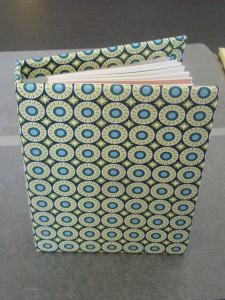
And how it looks from the outside.
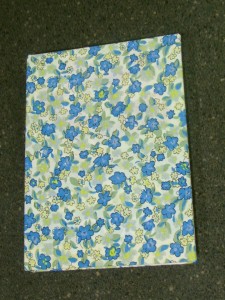
I covered this book the same way.
But used a vintage fabric that was sent to me in a gift swap by Kolien at Kitchen Table Productions. I have some fun ideas for the other fabric she sent me too, but you’ll have to wait until I dust the cobwebs off my sewing machine.
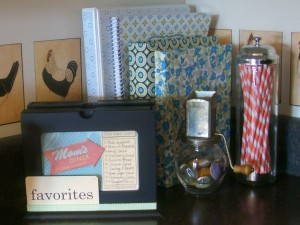
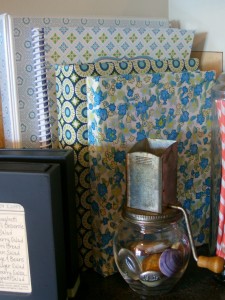
Doesn’t this corner of the kitchen look so much better? I might even cook more now, but probably not.
See that grinder? That also came from Kolien and I love it. Right now it’s holding rocks from places that are special to me.




I love the book cover. I am creating a cover for a wedding guest book this week, and I have come across a lot of fun covers lately.
I posted your guest feature today! Thanks for being a guest on my blog. 🙂
These are very cute! What a great idea 🙂
awesome! my cookbooks are WAY up in a cupboard above the stove, that I need a step stool to reach….so I never use them! haha
OMG! They are too cute. And I thought I was obsessive and an over-achiever. You have me topped.
Thanks so much for sharing.
Brittany
http://www.prettyhandygirl.com
Leann you totally inspire me to get organized! I have so many recipes that need to be put into a nice booK. Thanks for joining the party. Debbie
These are much cuter than the original covers – love!!
What a wonderful idea! I love what you did — I’m going to be using this in my own kitchen, too 🙂
Great idea, Leanne! I did a take out menu binder similar to yours, except I used a glue stick on the scrapbook paper and it didn’t hold up. It’s on my list of things to be Mod Podged! I love the shape of those labels/tags ~ did you buy them that way or print and cut them out. The binder is so much better, isn’t it? I was so tired of menus getting put in the drawer just any old way and I even separated mine into “Italian”, “Chinese” and “Other” {which is Outback or Ruby Tuesday type menus}.
Every post I read about being organized on your blog makes me jealous that you are so organized and I am so NOT!!!! Please be my neighbor and organize my house for me. You have such great ideaS!
Hi Leanne! Featured you this morning 🙂 http://homeandgarden.craftgossip.com/cookbook-covers/
If you would like a “featured by” button, you can grab one here!
http://homeandgarden.craftgossip.com/grab-a-craft-gossip-button/
How creative! I’ll have to borrow your idea because my books need some sprucing up too =)
Thanks for the tutorial on covering the binders!
I have a box full of binders that were headed for the trash that someone gave me. They have company logos on them, so this will be perfect for finally doing something with them!!
Very cute! I like the idea of using heat ‘n bond. That would definitely make mod podging it easier! I’m having a Target giveaway at my blog! Love it if you’d stop by. alittleknickknack.blogspot.com
What a cute idea! Very stylish and handy indeed!